Showing posts with label javascript. Show all posts

Tuesday, February 19, 2013

JAAS between two EE applications with TomEE, WS-RS and Javascript

Attention: This is old stuff. New build instructions here

PhotoDB no longer contains user data. Now its users credentials are remotely managed by FaceID. PhotoDB binds itself to it via via ws-rs from loginscript.js, and the JAAS does the rest.

While JAX-RS 2.0 and its very handy Client API are not yet official, our JAAS needs to use a regular java.net.URL connection. This way we avoid to get tied to any proprietary library. The loginscript.js opens an http connection to the remote application and authenticates the provided user credentials against what FaceID have stored. The resulting output is either a csv string with a list of all the groups in which the user is part, or a "Bad user or password" exception.

The applications now share the same TomEE installation, but you don't need to worry about it. We have a new Makefile task: make up-war-restart. So, let's build it!

Clone the projects and open two terminal windows.


First run make clean-start && make tail for the PhotoDB in order to build the application and tail the catalina.out file.


You should be able to use the PhotoDB application with the user "michael" and password "test".
 Now run make up-war-restart for the FaceID.


You should see some action in the catalina.out file.


Open http://localhost:8080/faceid/ and http://localhost:8080/photodb/


The FaceID application has only one user. The user name is admin and its password is admin. The PhotoDB application has no user yet. So, let's create one.


The "Groups" field is a comma-separated value like "groupA, groupB, groupC". For now let's use "photo-user".


Now go to PhotoDB and login with your newly created user.


Side note: Did you notice how fast TomEE starts up two applications?
Join the fun with TomEE! http://tomee.apache.org/

PhotoDB: https://github.com/tveronezi/photodb
FaceID: https://github.com/tveronezi/faceid

[]s

Sunday, February 17, 2013

Now powered by Backbonejs

Photodb is now a Backbone application. It shows how ease is to use this awesome JavaScript framework in order to implement elegant code in your web application. As usual, we use TomEE as our back-end server. There is no Servlet in this app. The communication between the browser and the server is via ws-rs.

Go ahead, check it out and join the fun!
https://github.com/tveronezi/photodb


Sunday, December 9, 2012

Unit tests with Jamine

Attention: This is old stuff. New build instructions here

Today we've got the unit tests done for all our JS files. I know, I should have written my tests before the actual implementation. Bad bad programmer! I never write tests first but afterwards. Does it count?

These tests aren't integration tests. They are interested on a small peace of code (unit) at a time with no external context dependency. We don't need to test if the browser triggered a 'click' event or if a given framework drew the expected tag in the browser. We assume they did. Hopefully the team who created the browser and the framework have already tested it for us. Also, we don't need to have a real service running at the back-end in order to test our UI. Ideally, a unit test wouldn't take more than one second, and a server running behind the scenes would blow up this ideal.

0.03 seconds to complete 41 tests

The trick is to create mock objects whenever you need them. Our 'ApplicationChannel.js' message bus (Read more about client-side messaging in this great blog entry) and the javascript nature itself give so much flexibility that you don't feel the pain on mocking data. Almost every thing in JS is a map. So, if you need to mock something, just create a map and you are fine. The next feel lines show you some JS tests tricks.

beforeEach and afterEach functions

When you are creating tests, you are the boss. You are free to play with your code in between the the lines of your unit test file. You can mock whatever you want. You can create temporary objects. You can even change the implementation of any object, including those defined by 'window'. You just need to remember to clean-up you mess before leaving. Jasmine provides two handy callbacks for that: beforeEach and afterEach.

Imagine that the lines you are testing use the 'window.setTimeout' function, making it an asynchronous peace of code. How would you test it? You could mock the setTimeout function.


Note that it is very important to set the original 'setTimeout' method back otherwise subsequent tests would give bizarre results.  

Use the ApplicationChannel.js

Imagine we want to test the line 28 of our ApplicationController.js module.


The application listens for 'new-local-file' events in order to trigger an upload request. You don't need to know who sends this event. For now, your only concern is to check if the application sends a upload request as result of 'new-local-file' events. You want to check if the upload request has the expected parameters.


Note that we also mock the 'sendMessage' function of ApplicationModel.js. We will test this function in another test file.

Create a temporary HtmlElement container

Sometimes there is no way to test a code without testing its html output. All the tests share the same browser window. Therefore, they share the same '<body></body>'. To avoid leaving behind extra html tags, create a temporary container for your tests.


Mock third-party objects

See this extract of the 'view/FileView' module.


We are already able to test if the 'container-rendered' event triggers the creation of a new 'svg' tag, but how to test the internal 'drop' event implemented by d3? How to trigger this event? It is time to hack the d3 code a little bit.

Download the development version of the d3 library and save this file under the 'project/photodb/photodb-gui/src/main/webapp/app/lib/d3' directory. Now change the 'project/photodb/photodb-gui/src/main/webapp/app/config.js' by pointing the 'lib/d3' module to this file.

You are now using the new d3 file.

When is the 'on' method called? Let's go step-by-step. Open the dev tools and put a break point in the line where the application listen for the event 'container-rendered'.


Now execute the tests again. Go step-by-step until you hit the 'on' method.


Ta-da! 'd3_selectionPrototype' is the object to blame! But do we have access to it? It seems to be a private object. Fortunately d3 gives access to it via the global 'd3' object.


Now you know you need to mock the 'd3.selection.prototype.on' function. Wrap this function call. You just want to grab the callback function of the 'on' event.


Once you have the dropCallback function, you can simply call it to test whatever you want.

Check out the latest photodb code

Our application is evolving. It is getting fancy. Go to github to checkout the latest version of it. Remember, you need to execute 'make run-jasmine' to start the jasmine tests.

tveronezi@botobox:~/dev/ws/project/photodb$ make run-jasmine

Check more on how to run our custom TomEE server here.


Tuesday, December 4, 2012

TomEE and JAAS with Javascript

TomEE has four different LoginModule implementations out-of-the-box. The PropertiesLoginModule maps the users and the groups in two files. The SQLLoginModule queries a database. The ServiceProviderLoginModule loads a service with a ServiceLoader. The photodb application uses a fourth one: the ScriptLoginModule.

The ScriptLoginModule uses the Java Scripting API, making it possible to execute Javascript (or any other scripting language) for the user authentication process. See example:


This script authenticates only two users: "michael" and "eddie". The "user" and the "password" variables are bound by the ScriptLoginModule. The "groups" is the list of groups the user belongs to. Let's make it better. We are going to use an EJB. See example:


Now we are using our own EJB to authenticate the users, and we can be very creative on how to do it. I am not that creative so I am going to use a dummy service. :O)

How would you use this class to authenticate against Google or an LDAP server?
Test it! If you followed the instructions on how to install the application, you will only need to update your photodb source code. Our application has only the four users defined by the "LoginImpl" class.

Wednesday, November 28, 2012

RequireJs, JQuery, Less, Handlebars, Bootstrap and Jasmine

Attention: This is old stuff. New build instructions here

In the last post we started implementing our photodb backend code. Today we will give some love to our client side. The objective of this first version of the GUI is to provide the code base for new features. We will use RequireJs, JQuery, LessCss, HandlebarsTwitter Bootstrap and Jasmine.

photodb is a single-page application, therefore we won't use any server-side template tool like JSP, JSF or Apache Tapestry. We will use a simple standard "index.html" page and everything else will be loaded from it. The communication between the browser and the application will be entirely via XMLHttpRequest, and the server will send only JSON strings through the wire. Twitter Bootstrap will be the base of our GUI; Handlebars will take care of the templating; LessCss will compile our CSS file; JQuery will manipulate the DOM and trigger the ajax requests; RequireJs will load all the file dependencies for us; Jasmine will test everything.

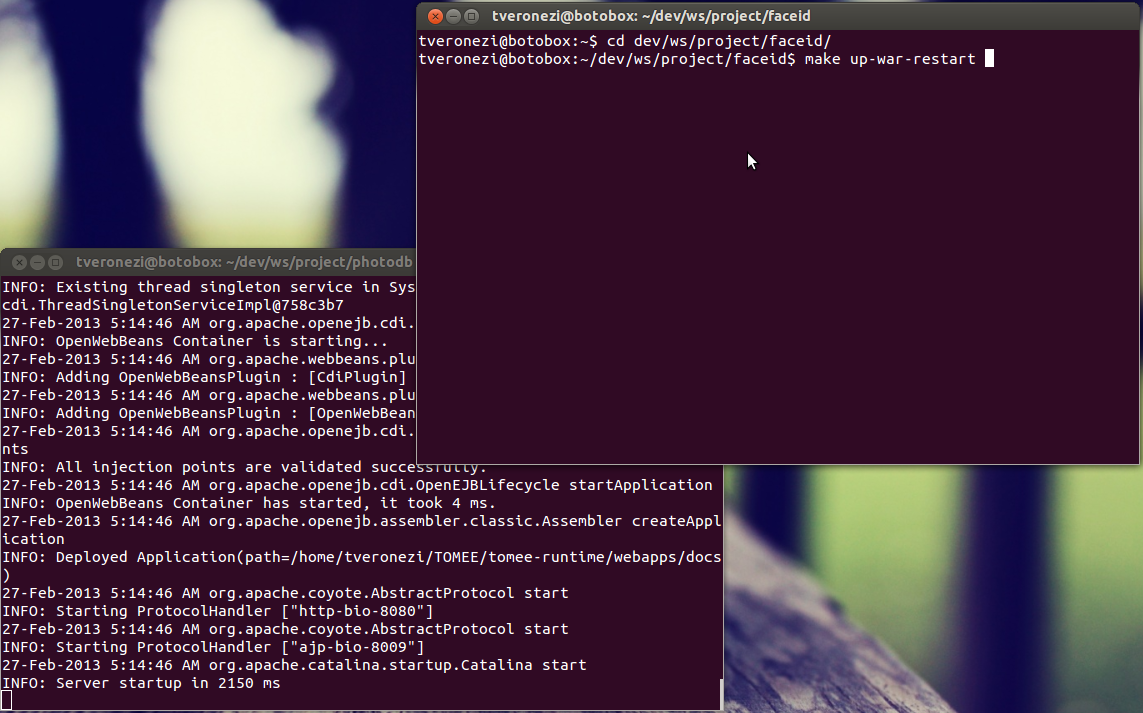
Let's run this code! Execute the following commands to start the server.

mkdir -p ~/dev/demo2
cd ~/dev/demo2
wget http://people.apache.org/~tveronezi/photodb-day-2.tar.gz
tar -zxvf photodb-day-2.tar.gz
cd photodb
make start-tomee

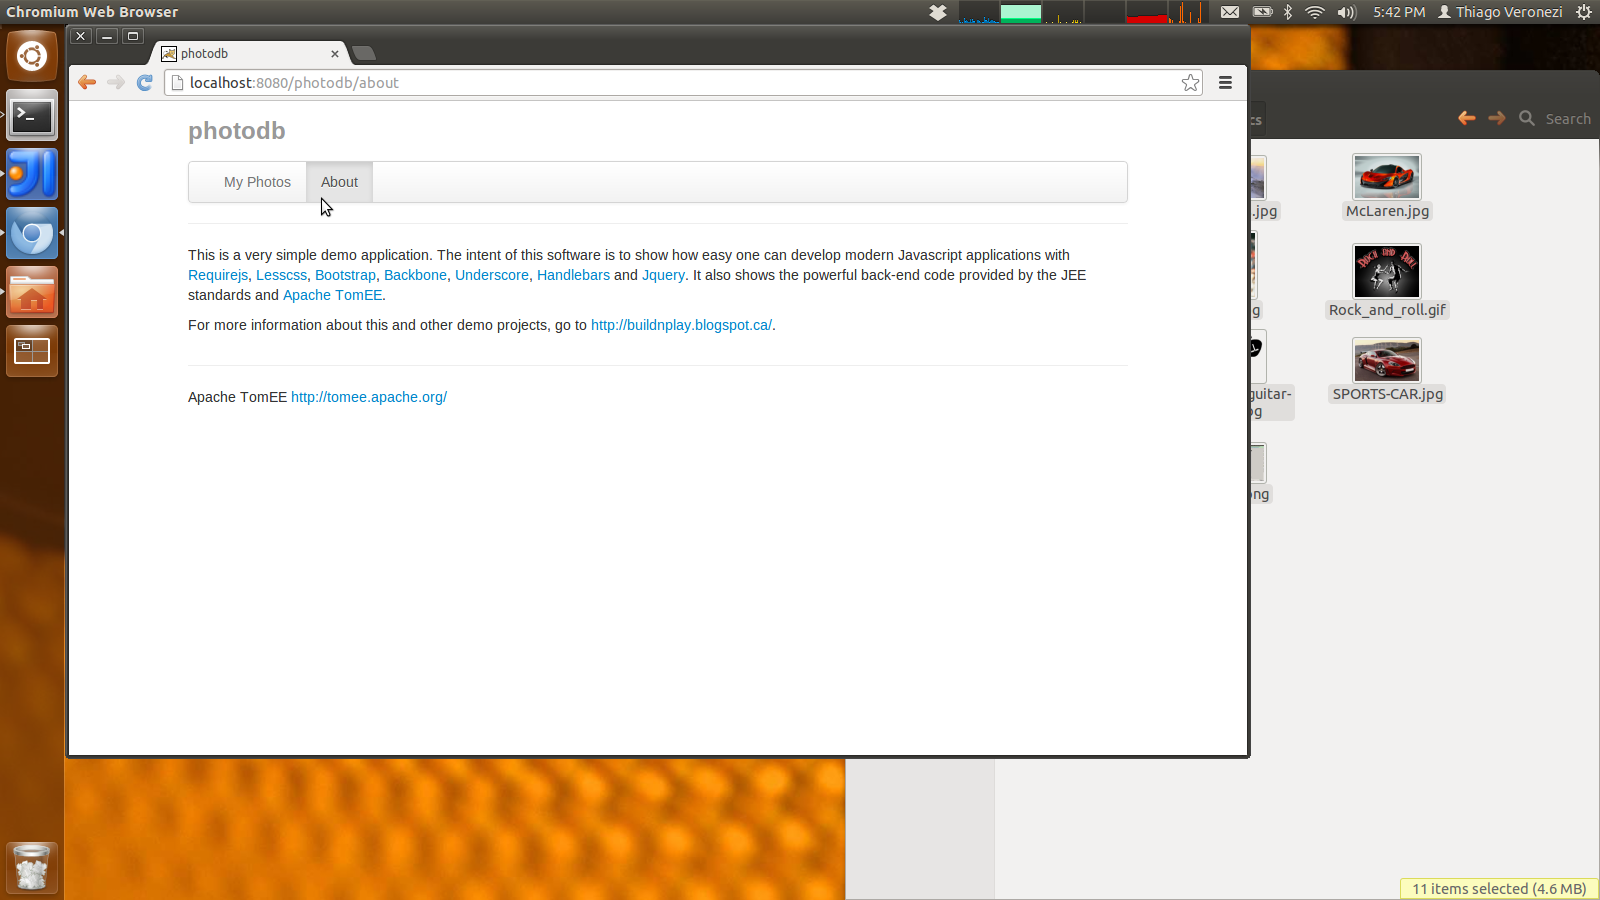
Once you have your server running, go to http://localhost:8080/photodb-web/. You should see something like this.


Looks dummy, but there is a lot going on behind the scenes. Check what this page is loading.


Now check the "index.html" source code.


You may be asking where did all those requests come from? It is RequireJs doing its job by loading the dependencies for us. We don't need to touch the "index.html" file every time we add a new dependency. We simply need to change the "start.js" file for new "lib" dependencies or follow the module definition used by the RequireJs library. Looking for examples? Check the "start.js" or one of the files under the "photodb/photodb-web/src/main/webapp/app/js" directory. You may also go to their API to learn more about this great framework.

As you have noticed, when the page is loaded it shows a "Welcome to photodb!" message (My version of "Hello world!" :O) ). It is a floating div with an absolute position. The CSS rule of it is managed by LessCss, which generates CSS rules from our "app.less" file. If you want to add a new rule, update this file. Check what LessCss generates from "app.less"...


Handlebars uses the ".handlebars" files to create the templates. If you want to add a new template, create a file with ".handlebars" extension under the "photodb/photodb-web/src/main/webapp/app/js/templates" directory. To load this template, you should call the "get" function of the "ApplicationTemplates" module. Check this code:


In the exemple above, we would have two files: "my-template.handlebars" and "my-template-with-params.handlebars". The second one has a "myParam" value. In your template code it would be something like "<div>{{myParam}}<div>". You need to enumerate the template files the "ApplicationTemplates" module use. All the templates should be in the "files" variable defined in "photodb/photodb-web/src/main/webapp/app/js/ApplicationTemplates.js". Don't forget to check http://handlebarsjs.com/ for more information about templates.

Handlebars and LessCss create the "Welcome to photodb!", but JQuery is the one who adds it to the DOM. To see how JQuery does that, check the "photodb/photodb-web/src/main/webapp/app/js/view/GrowlNotification.js" file.


At the line 38 we get the template; At the line 43 we add it to the DOM; At the line 44 we perform a fancy "fadeIn" transition.

Now we need to test what we have. Jasmine to the rescue! Run the following commands to start Jasmine.

cd ~/dev/demo2/photodb
make run-jasmine

Now open your browser at http://localhost:8234. You should see the unit tests results.


In order to add a new test case, you should create a js file under the "photodb/photodb-web/src/test/javascript/test" directory. Check the "photodb/photodb-web/src/test/javascript/test/I18N.js" file.


It is a RequireJs module. You need to define the dependencies of your test. In this case, our test file depends on the "util/I18N" module implemented by the "photodb/photodb-web/src/main/webapp/app/js/util/I18N.js" file. If you want to test a brand new module, you may need to change the "photodb/photodb-web/src/test/resources/start.js" bootstrap file. Specifically, you may need to change the "require.config" call and the "REQUIREMENTS" object.


This is a javascript application, so there is no need to restart the server to test our code. When you change something under the "photodb/photodb-web/src/main/webapp/app" directory, just run "make up-static" to update the server.

tveronezi@botobox:~/dev/demo2/photodb$ make up-static

If you are just running unit tests, you don't need to run "make". Just refresh the http://localhost:8234 page and you are good to go.

Thats it! Now we have the skeleton of both back-end and front-end codes. We still have a lot to do, but we can be more productive by using these awesome tools.